Case Study 2: Hemi-Talus JB
A 70 year- old female presented to the office complaining of left ankle pain that has been present for over two years. She underwent a flatfoot reconstruction in 2016 with a gastrocnemius recession, subtalar joint fusion, posterior tibial tendon repair with a flexor digitorum tendon transfer that healed uneventfully. Her ankle pain was treated in the past with bracing, NSAIDS, physical therapy, injections and activity modification without relief. A CT scan of the ankle demonstrated a 2.4cm X 2.0cm X 1.5cm area of avascular necrosis of her lateral talus including cortical collapse and fragmentation of the shoulder. Treatment options were discussed with the patient and she did not want to pursue a fusion or allograft bone block procedure. A custom 3D printed hemi-talus was discussed with her in detail and she elected to proceed with that option.
Pre-operative X-rays:
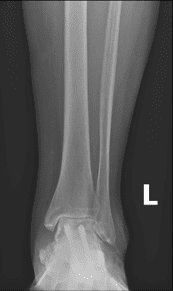
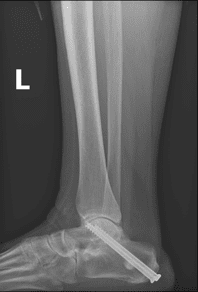
Pre-operative AP and Lateral weightbearing radiographs. The patient had a previous subtalar joint fusion and was complaining of long standing pain in the lateral aspect of the ankle joint.
CT & MRI Images:
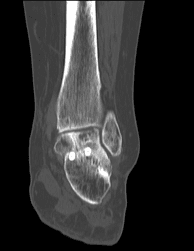
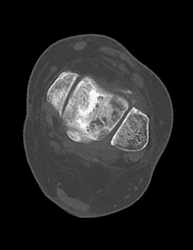
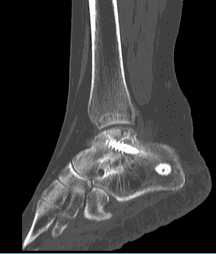
CT Scan demonstrating a large lateral talar lesion with cortical collapse and fragmentation. The subtalar joint is fused in anatomic position.
Pre-operative Planning:


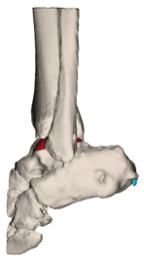
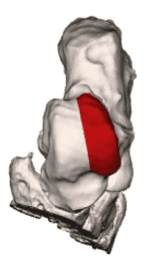
Pre-operative Planning based on CT scan demonstrating the patient’s anatomy. The proposed r resected area of AVN of the Talus is shown in red.
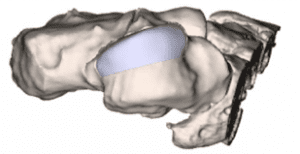
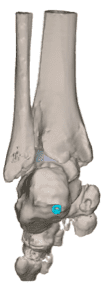
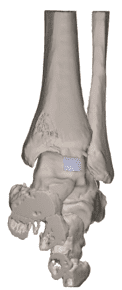
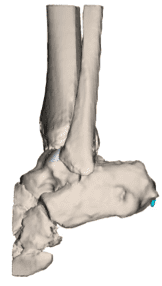
Proposed Hemi-Talus implant. From left to right: Anterior view, Lateral view, Posterior view and superior view of resected talus. The teal colored image is the retained screws that are in place for the subtalar joint fusion. These will be removed before the hemi-talus is inserted.
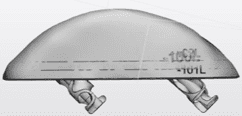
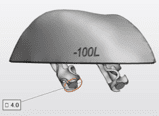
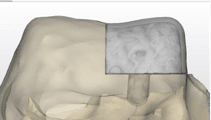
Proposed Custom Hemi-Talar Implant. Note the inferior aspect of the custom implant has 2 4mm pegs to press fit into the resected talus (left & central). Anterior view of the proposed implant seated in the lateral talus (right).
Intraoperative Images:
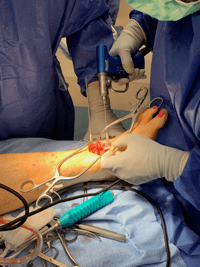
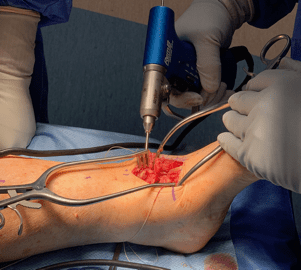
After the proximal tibial bone graft harvest and bone marrow aspiration was performed the ankle was approached with a standard anterior incision between the Anterior Tibial tendon and the Extensor Hallucis Longus. A large pin distractor was utilized to obtain increased access to the lateral ankle joint. The superior pin was placed in the lateral distal tibia and the inferior pin in the lateral talar neck.
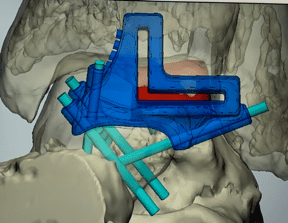
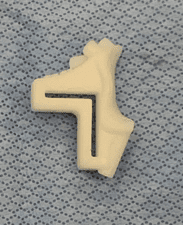
The cutting guide for resection of the talus was selected and pinned into position. Note on the CAD rendering the multiple options for pin stabilization of the cutting guide.
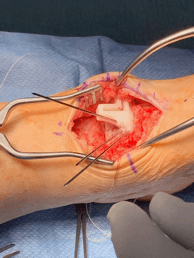
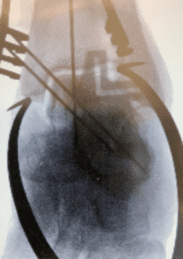
Cutting guide inserted and pinned with radiographic confirmation of placement and resection.
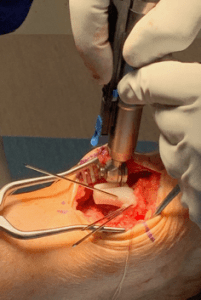
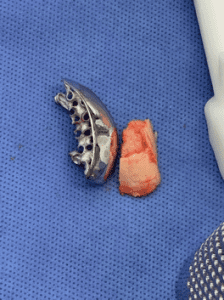
A sagittal saw was used trough the captured cut guide and a horizontal and vertical cut was made in the lateral talus (left). The resected talus was removed and placed next to one of the definitive hemi-talar implants. Note the extensive loss of cartilage on the resected talus. In addition, the bone was soft and brittle consistent with AVN.
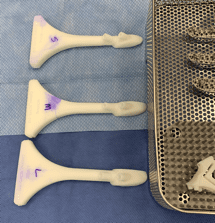
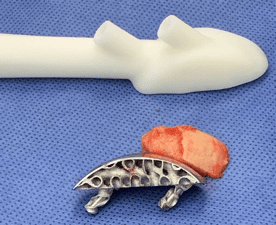
Three different sized talar drill guides were available to determine what size would best fit the patient (left). Note the slots on the superior aspect of the drill guide for peg drilling for the definitive hemi-talar implant (right).
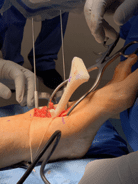
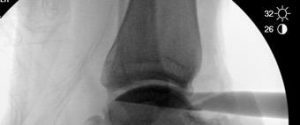
The talar sizer was placed into the resected talus and confirmed with intra-operative fluoroscopy.
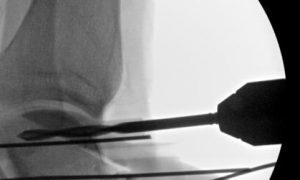
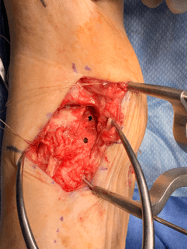
The talar drill sizer was pinned into position and the appropriately sized drill was used through the provided guide (left). Superior view of the drill holes for the definitive hemi-implant.
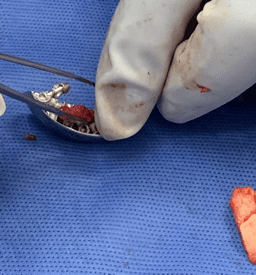
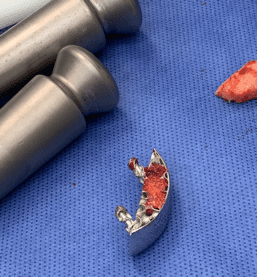
Packing the definitive hemi-implant with autogenous bone harvested from the calcaneus.
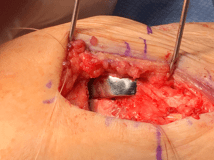
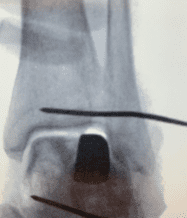
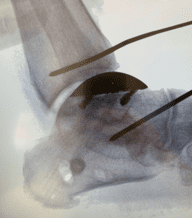
Intra-operative image of the final implant in place. The superior aspect of the implant is sitting flush to slightly below the native cartilage. The AP and lateral intra-operative fluoroscopy images demonstrate excellent position of the implant.
Post-operative X-rays:
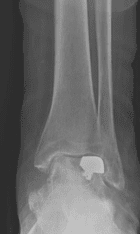
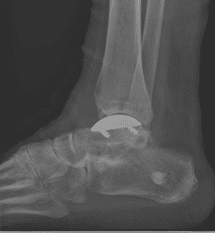
Final weightbearing films demonstrating excellent bone ingrowth position of the implant. The patient has resumed daily activities without pain.


